

Woolly Bugger by Nicole March
Apr 07, 2020
The woolly bugger is a staple in any fly box, and will produce fish in many bodies of water, from lakes and ponds to streams and rivers. This pattern can be tied to imitate baitfish, crayfish, leeches ect and since you can tie them weighted or un-weighted and in a variety of colors; the possibilities are endless.
Thread: Black 6/0
Uni 6/0
Superfly 6/0
Danville 6/0
Weight: .020 Lead Free Wire
Hackle: White Saddle Hackle
Step 1

Step 2


Start your thread one eye length behind the hook eye, leaving a tag end that’s a few inches long. Just be sure not to cut it off yet as you will be using it to secure the lead. Now slide the lead wraps up behind the thread and build a small thread dam in front to prevent them from sliding any further.
If you have ever tried securing lead before, you know how frustrating it can be when the thread wraps slide in between the lead wraps. Using a long tag end can help keep that from happening.
Hold the tag end up in the air over the shank with one hand, and begin taking wraps back towards the hook bend. As you wrap over the lead your thread will catch that tag end and prevent it from slipping in between. Be sure to do the initial layer of wraps a little softer as too much thread tension can still cause it to slip.
Build another small thread dam at the back of the lead, and then cover the whole contraption with extra wraps to secure it in place. You can now snip the tag end off.
Step 3


Run your thread to the base of the hook and select a marabou feather from the strung package. What you are looking for are even tips and holding the feather by the base in one hand, and using the other to smooth it out will help you assess the feather for symmetry.
Position the feather over the hook shank with and the tips facing the bend and measure the tail to be about a hook shank in length. You can now transfer that to the base of the hook and secure it in place with a few tight wraps.
Step 4


Step 5


Time to add a little flash! Select one or two pieces of flash and bring them around the back of your thread before grasping them with your fingers. This will create a loop around the thread in which you can now manipulate. Holding the bobbin still in one hand, pull on the looped material and slide it up into place. Once in place, simply hold tight and bring your thread over to lock it in place.
Step 6


Invert your vise and repeat the same process on the other side of the hook, then take wraps over the material towards the base of the hook.
Step 7


Remove a length of wire from the spool and tie it in on the side of the hook facing you with just one or two wraps to lock it in.
Step 8


Before tying in the chenille body, you will want to prep the material by stripping away some of the fibers at the cut end. Use your fingernails to scrape away about a half an inch of fibers, revealing a core of thread. Tie the material in at the base of the hook, cover the waste ends of both materials and bring your thread up the shank, stopping one eye length behind the eye.
Step 9


Wrap the chenille up the shank, stopping where your bobbin is hanging. You don’t want these wraps to be extremely tight together, but you do want them to be evenly spaced and to cover the bare shank.
Step 10


Once you have reached the front of the hook, bring the end of chenille up to the right and the bobbin over with the other hand to lock it in. I simply throw it over the shank. Do this twice before taking a wrap or two in front of the material and trimming away the excess. Before going any further I recommend putting in a one or two turn whip finish here.
Step 11


Select a long saddle feather whose hackle is about one and a half times the hook gap, near the base of the feather. Trim the thicker stem away and remove some of the ‘fluff’ as well as a few fibers from the right side of the feather as shown. You will be tying this feather in by the stem so that the shiny side faces you (or up) in a sense.
With the fibers removed, tie the feather in by the bare stem, about half an eye length behind the eye. This will give enough room for the first two hackle wraps as well as the head.
Step 12


Before taking that first wrap, grasp the feather and bring it over the eye just a bit to put a small kink in the stem so that it stands up on a 90 degree angle. This also can help the feather from rolling.
Step 13


Take one complete wrap of hackle around the hook shank, then one more behind that one before continuing in evenly spaced wraps towards the bend of the hook. Five or six wraps should be more than sufficient.
Step 14

Upon reaching the base of the hook, hold the end of the feather up in your opposite hand, and bring the wire up over it to lock it in place. Take one more securing wrap and then work your way towards the front of the hook. When wrapping the wire up the shank, take 5 or 6 evenly spaced turns, being careful not to trap the fibers as you go. Wiggling it slightly as you go will help with this.
Step 15

I like to bring the final wrap of wire up from underneath the hook and take one securing turn with it behind the eye.
Step 16


One way to keep the hook eye clear on your flies is to pull the material back, and take a few turns of thread in front of them before you build the head. Doing this ensures the material isn’t pushed downwards into the eye.
Pull back on the wire and wrap in front of the feather stem, then clip the excess, whip finish and create a head. You can also coat the head with a UV resin for extra durability.
Step 17

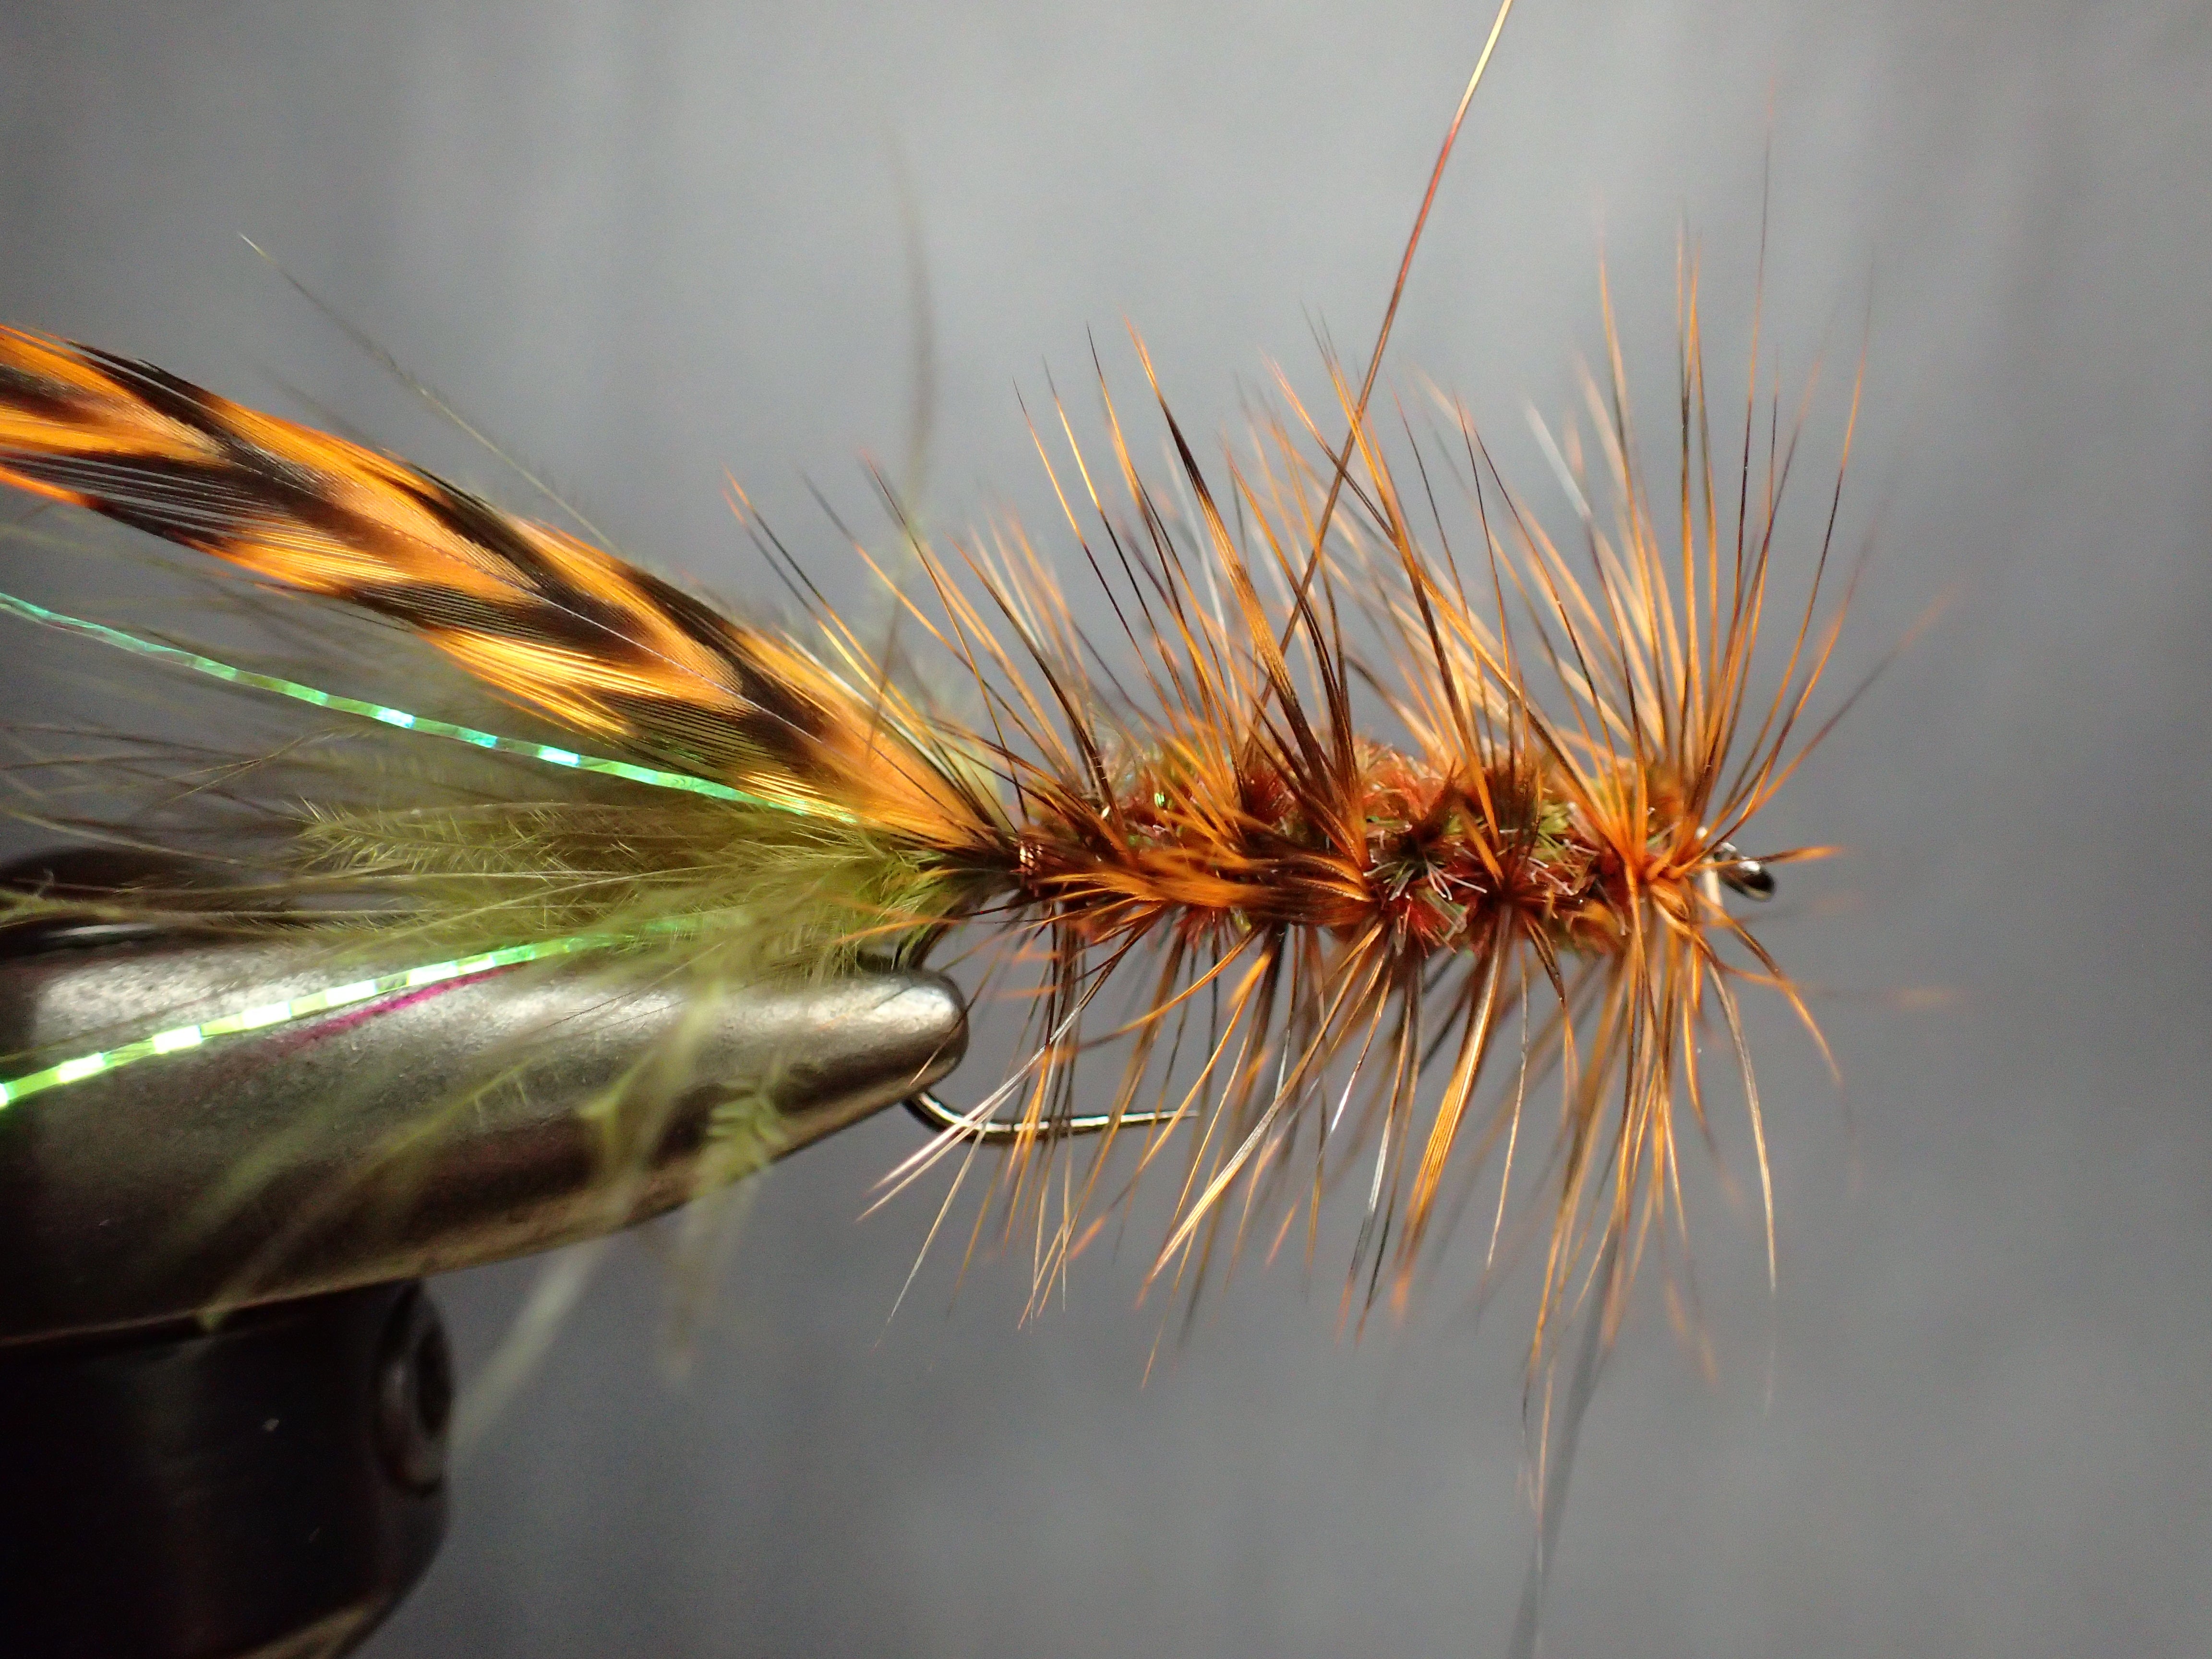
Lastly, clip the tip of the hackle feather from the base of the tail and trim the flash to the length of the marabou.


4 comments
Yes, I agree, this is a fine tutorial and well presented. And I’ve found adding lead wire really helps in the fish catching department.
Great tutorial,One of my favorite go to flies gets the job done most of the time.
Great clear numerous photos….think of producing a fly tying book.