

Modified Hares Ear Nymph by Ricky Bassett
Mar 14, 2012
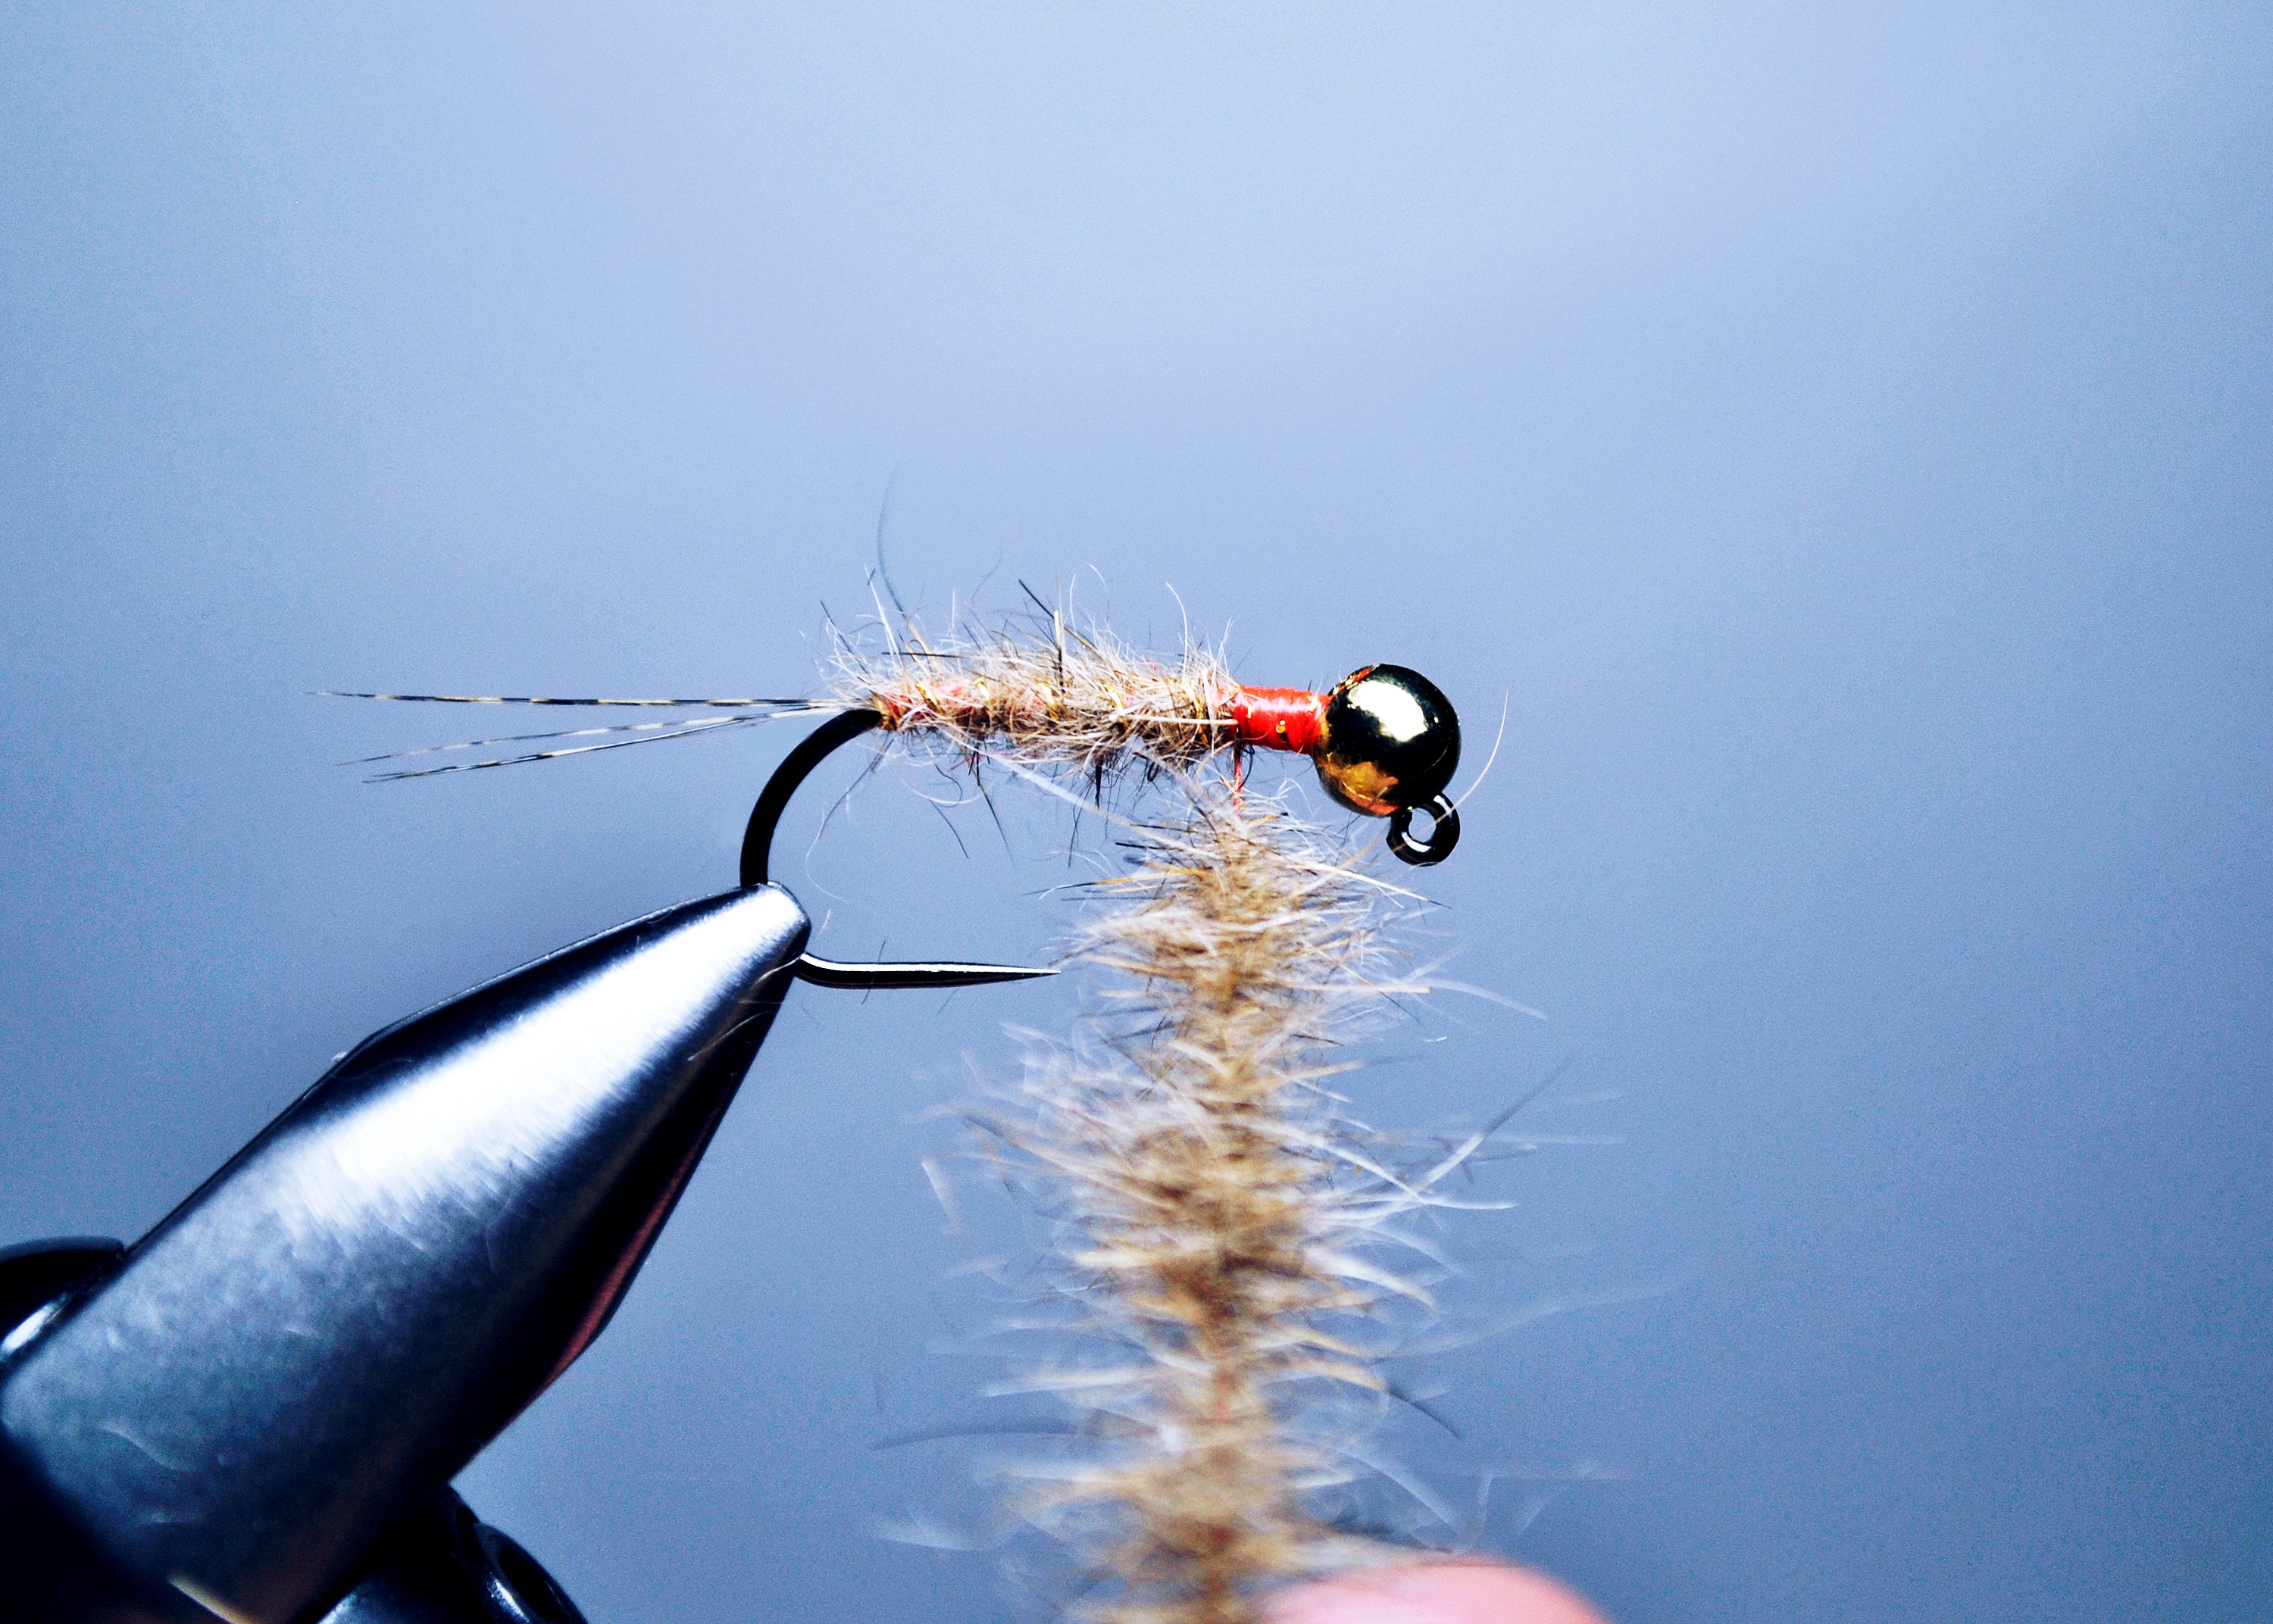
The Gold Ribbed Hares Ear has long been an extremely effective pattern. This is a modified pattern off the traditional, featuring a Coq de Leon tail, spun fur thorax & is tied on a jig hook. This has proven to be a very effective bottom bouncing pattern and in turn a best seller in the shop. The tying procedure is fairly simple, but the question we get asked most is about the thorax, so here you go...
Hook: Partridge SUJ - Barbless JigBead: Slotted Tungsten
Thread: Superfly Super Thread - Fl Fire Orange 6/0
Tail: Coq de Leon - Pardo
Rib: Oval Gold French Tinsel
Body: Hares Mask Dubbing
Spun Thorax: Hares Mask Dubbing

This pattern mainly consists of a single dubbing. Mixing a good blend is key to tying it successfully. The dubbing used for this fly is made from the mask of a hares ear. This is a simple procedure and just requires a natural hares mask, some scissors & a coffee grinder that we will use as a blender.

Select your hares mask. The ideal hair for this pattern is located in the region above the eyes and between the ears. Clipping close to the hide, include a nice mix of the underfur as well as the speckled guard hairs. This gives your a range of textures and colors. To tweak the color, you can take fur or hair from other regions of the mask to either darken or lighten the shade. There is no set color, you can mix light or dark blends, even use dyed masks and blends of dyed and natural colors. This can be key to achieve the colors you as the tyer are looking for to match the natural nymphs in your river/streams.

As you can see, a range of different shades, colosr and textures of hair are put into the blend.

Place all of the hair/fur into an electric coffee grinder. They are inexpensive and easy to obtain at department stores. Having one can change how you use dubbing.

Now for the fun part! Close the lid on your coffee grinder with all the beautiful guard hairs and underfur locked inside. Turn on the grinder for short bursts, just a second or two at a time. Generally, you don’t need to mix it for to long, it usually blends very quickly but find what works best for you.

Here is the end result. The process and very simple and inexpensive and the results are beautiful. Hares mask is a very nice dubbing to work with. Making it yourself, gives you full control over the ratio of guard hairs and underfur as well as color. You can always blend in some uv fibers to further adapt it to your needs. This adds further dimension to your flies and tying.

Start off by placing the appropriate size slotted tungsten bead onto a jig hook and place it in your vise.

Using 6/0 Superfly Superthread in Fl Fire Orange (note this fly is a size 8 for demo purpose) use either 8/0 or finer thread for smaller hooks as you wish.
Attach the thread to the hook behind the bead and build a small dam of thread. This holds the bead in position. Not much will be needed. When you complete the fly the dubbing will be wrapped right up against the bead so that when you whip finish the thread will slip down in between the dubbing and bead very nicely and will also help to hold bead in final position.

Using fine oval gold tinsel, tie in behind the bead and start by wrapping the thread rearward toward the hook bend.

Select a coq de leon feather for the tailing material. Holding the feather in your hand align the tips of a small bundle of barbs and remove them from the stem.

Tie in the tail of coq de leon. The tail should be about one shank length long. Bind down tail with firm thread wraps keeping the fibers directly on top of the hook shank.

Continue wrapping the thread forward towards the bead securing all the tail fibers in place locking them in. When you reach just behind the bead take advancing thread wraps back towards hook bend to the point where the tail was tied in.

Make a noodle of dubbing on the thread with the hares mix you blended earlier. Make the section of dubbing closest to the hook slightly sparser than the rest of the dubbing to help create a taper to the abdomen. This will also help to create a very nice blend between the color of the thread and the color of the dubbing when wet.

Create the abdomen of the fly by advancing the thread/dubbing towards the bead creating a slight taper towards the bead. Remember not to go all the way to the bead you should stop a little past the 1/2 mark on the shank. Use a tooth brush to brush out some of the body to emulate either gills or legs, basically to create a buggy look. You can also use a piece of velcro or whatever you feel comfortable using.

Take hold of the ribbing material and start ribbing the fly. Counter wrapping the rib makes it more visible and the fly more durable, but this is a personal preference. Advance the rib forward with open turns trying to space them evenly. when you reach the front end of the abdomen catch the tinsel with your thread locking it in with a few tight turns of thread and trim the waste.

Now the fun part, spun thorax. This is very simple to do with some practice. The thorax is created by using the split thread technique where you will insert the dubbing in between the split thread. You will start by flattening out your thread by twisting your bobbin in a counterclockwise direction. While the bobbin is spinning it helps to rest the thread on your fingertip and by sliding your finger up and down on the thread you will be able to watch it unwind and flatten out. When the thread has flattened out stop the bobbin from spinning. Now just let your bobbin hang with the thread flattened. Lay out some dubbing on the table, about an inch and a half in length trying to have it evenly placed with guard hairs in a horizontal direction.

With the dubbing laid out on the table ready to go, take your dubbing needle in your right hand and rest your pointer finger of your left hand under the flattened thread. Take the dubbing needle and insert it right in between the thickness of flattened thread and split it down the middle.

Before removing the dubbing needle from between the thread insert your middle finger of your left hand in between the thread to hold it open while you grab hold of the dubbing mat you have already made. To make it easy to lift the dubbing mat off the surface, it helps to slide the dubbing needle underneath separating it from the surface, then when you pick it up with your right hand it will usually hold its shape.

While holding the thread apart with your left finger, place the dubbing in-between the thread and slide your finger out. Make sure to hold the thread together tight with your left hand and with your right hand you can now adjust the dubbing to space it evenly in between the thread.
Now you are going to start twisting the thread, first spin clockwise slowly just to lock in the dubbing. Then you can spin the bobbin clockwise faster to tighten up the thread, locking all the fibers of hair and fur into a rope.

After tightly spinning the thread and locking all the hair in, start wrapping the thread/dubbing rope forwards. Each wrap, make sure to preen back all the hair/fur rearwards. wrap it right up against the bead snug.

With your dubbing needle, pick out some of the guard hairs that may have been trapped. Brush out some of the hair as well to create a buggy thorax, simulating legs for added movement in the water.

After picking out all the guard hairs, you're ready to whip finish the fly and the modified hares ear is complete. This is a great generic tungsten jig pattern that will imitate many different nymphs in the water column. By simply adjusting size of hook and the weight you can cover a lot of different food items that a trout will take as an easy meal under the surface. :)


2 comments
Great Flies! Going to tie some right now. This virus stuff is really cramping my fishing. Can’t wait for it to be over so I can get back on my beloved NY streams. Look forward to stopping by. Mike’s Book is a great read!!
Great SBS! I find myself using red squirrel collars in split thread for the thorax/legs of nymphs quire a bit these days! Great tutorial!